Video content has become the heart of digital marketing, social media, and online engagement. Platforms like YouTube, TikTok, Instagram, and Facebook thrive on visually appealing content. To create high-quality videos, you need a powerful video editing app, and CapCut Pro has emerged as one of the best solutions for mobile editors.
In this article, we will explain how to download CapCut Pro, explore its features, and give a step-by-step working guide so you can create professional videos like a pro.
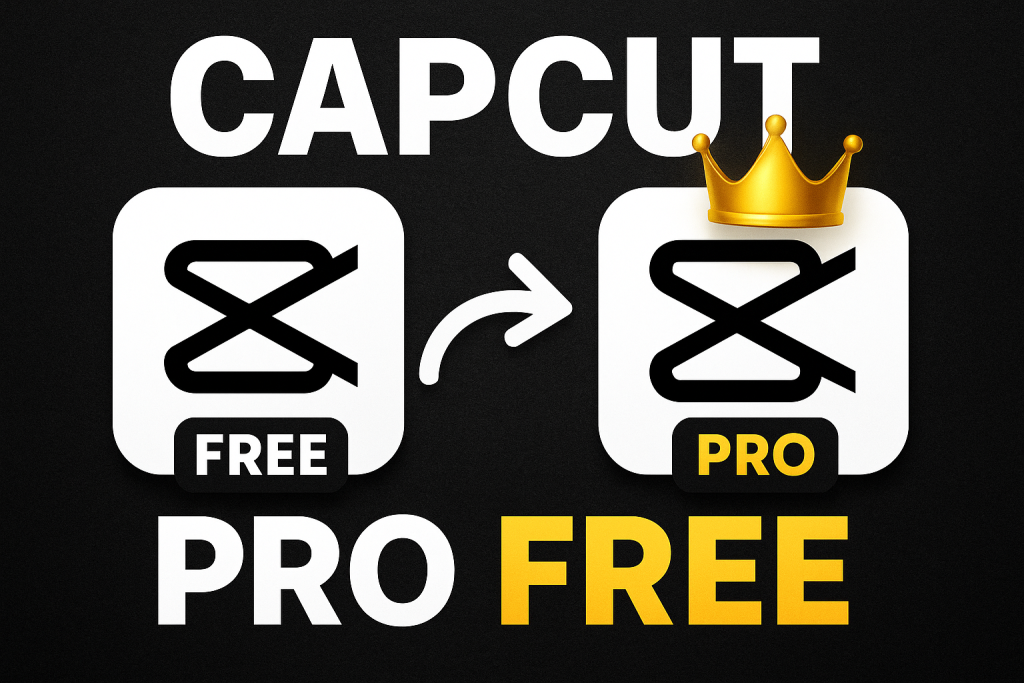
What is CapCut Pro?
CapCut Pro is the premium version of the popular CapCut app, offering advanced video editing tools that are not available in the free version. While the free CapCut app is great for basic edits, the Pro version unlocks premium features, including:
- Access to premium effects and filters
- High-quality transitions and animations
- Advanced text and subtitle options
- No watermark on exported videos
- Music, sound effects, and voice-overs
CapCut Pro is available on Android and iOS, making it one of the most versatile mobile editing tools for creators. Its user-friendly interface allows beginners and professionals alike to produce professional-quality videos without complex software.
Why Choose CapCut Pro for Video Editing?
Using CapCut Pro over the free version or other apps provides several advantages:
1. Premium Effects and Filters
With CapCut Pro, you can access thousands of premium filters, overlays, and cinematic effects that enhance your video quality and make your content visually appealing.
2. Watermark-Free Videos
One of the major limitations of free video editors is the presence of watermarks. CapCut Pro allows you to export videos without watermarks, giving your content a clean, professional look.
3. High-Quality Export Options
Export your videos in 1080p or 4K resolution to ensure high-quality playback on YouTube, Instagram, or any other platform.
4. Professional Text and Animation Tools
Add animated text, subtitles, and captions with multiple fonts, colours, and motion effects, giving your videos a polished look.
5. Easy-to-Use Interface
CapCut Pro’s intuitive timeline and drag-and-drop functionality make video editing faster and simpler, even for beginners.
How to Download CapCut Pro
There are two main ways to get CapCut Pro: official subscription or free working versions.
Method 1: Official CapCut Pro Subscription
- Go to the Google Play Store or the Apple App Store.
- Search for CapCut Pro.
- Open the app and navigate to Pro Subscription.
- Choose a monthly or yearly plan and complete the payment.
- Enjoy all premium features legally and securely.
Method 2: Free Working Version
For users who want premium features without paying, a modded version of CapCut Pro is available.
- Features unlocked: All premium effects, transitions, music, and watermark-free exports.
- Safety: Only download from trusted sources to avoid malware.
- Backup: Always back up your device before installing mod apps.
Note: Using mod versions may violate the terms of service. We recommend using official subscriptions for long-term stability.
CapCut Pro Features Explained
CapCut Pro offers a wide range of tools for professional video editing:
1. Premium Templates
Choose from thousands of pre-made templates to create videos quickly. Templates include effects, transitions, and music synced automatically with your clips.
2. Advanced Effects and Filters
Enhance your video with cinematic filters, glitch effects, and colour grading. Adjust brightness, contrast, saturation, and more to match your style.
3. Text Animations
Add dynamic titles, captions, and subtitles. Customise fonts, colours, motion effects, and timing to engage viewers.
4. Music and Sound Effects
Include royalty-free music, voiceovers, or sound effects. CapCut Pro allows beat syncing to make videos more engaging.
5. Background Removal
Remove or blur backgrounds using AI-powered tools, even without a green screen. Perfect for social media, vlogs, or marketing videos.
6. High-Quality Export
Export videos in HD or 4K resolution. You can also select the frame rate to match platform requirements (YouTube, Instagram, TikTok).
Step-by-Step Working Guide for CapCut Pro
Follow these steps to create premium videos:
Step 1: Start a New Project
Open CapCut Pro → Click New Project → Select videos and images from your gallery.
Step 2: Trim and Arrange Clips
Use the timeline editor to trim, split, or rearrange clips for a smooth sequence.
Step 3: Apply Effects and Filters
Choose from premium filters, effects, and transitions. Adjust intensity and duration for a professional look.
Step 4: Add Text and Animations
Click Text → Add captions, titles, or subtitles. Apply motion effects and adjust timing to match the video.
Step 5: Insert Music and Audio
Go to Audio → Add music, sound effects, or voiceovers. Sync the audio with video cuts for smooth flow.
Step 6: Export Your Video
Once editing is complete, click Export → Select resolution and frame rate → Save or share directly on social media platforms.
Tips to Make Your Videos Professional
- Use premium templates for fast, high-quality edits.
- Add animated text for better storytelling.
- Sync audio with video cuts for engaging content.
- Use colour grading and filters consistently for cinematic effects.
- Remove watermarks to make your videos look professional.
Where CapCut Pro Excels
CapCut Pro is perfect for:
- YouTube Creators: Professional vlogs, tutorials, and shorts.
- TikTok Influencers: Trendy edits and viral videos.
- Instagram Users: Reels, stories, and promotional content.
- Marketing Professionals: Product demos, ads, and corporate videos.
Conclusion
CapCut Pro is one of the most powerful, user-friendly, and professional video editing apps for mobile devices. With this working guide, you can download the app, explore premium features, and create high-quality, watermark-free videos effortlessly.